Create and insert a video note in D2L Brightspace
A video note is a video that you can add to assignments, discussions, quizzes, or anything else that uses the Brightspace editor where the Insert Stuff option is available. It can be uploaded from a file you already have on your computer or you can record it using your webcam. It can have both video and audio, or audio only. Please be aware that video notes have a 30 minute limit and are only stored online for six months.
Video guide
Recording a new video note
- Navigate to the area in your course where you want to add your video note.
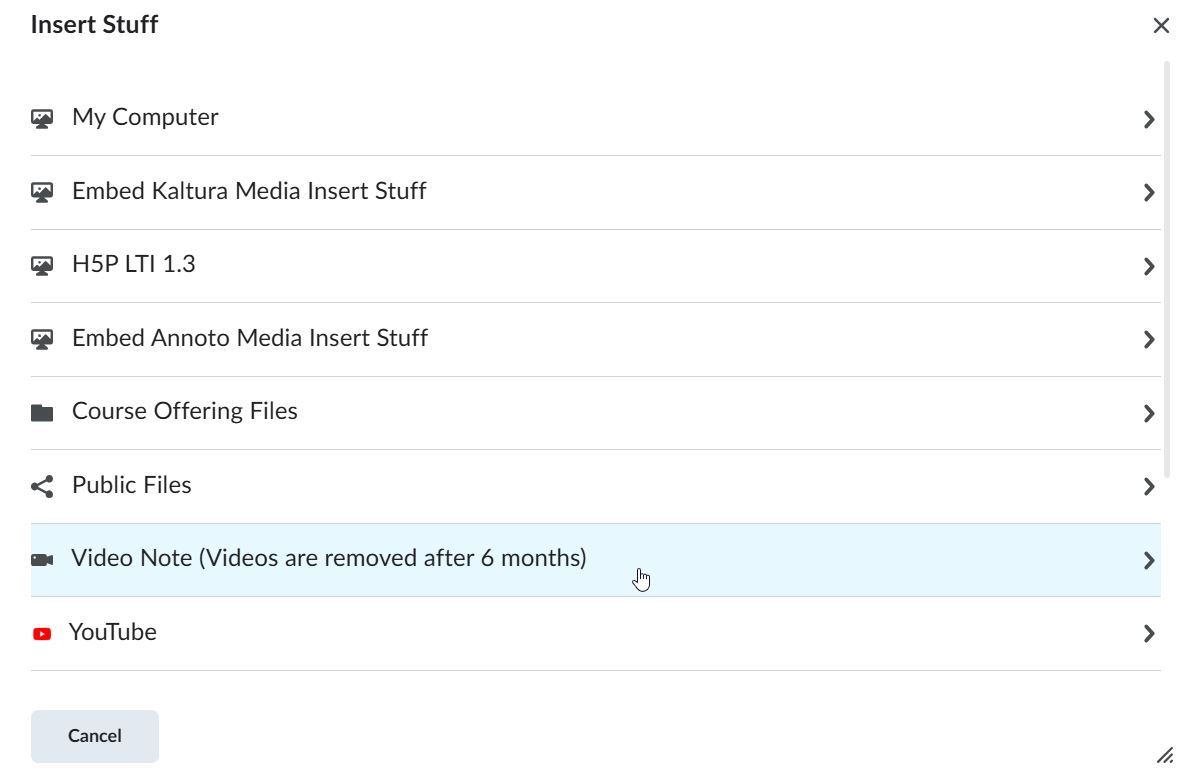
- Within the Brightspace Editor, click the Insert Stuff icon.

- In the Insert Stuff menu, click Video Note. If you get a popup asking to allow Brightspace permission to access your microphone or camera, be sure to select an option to allow access, otherwise the recording won’t work.
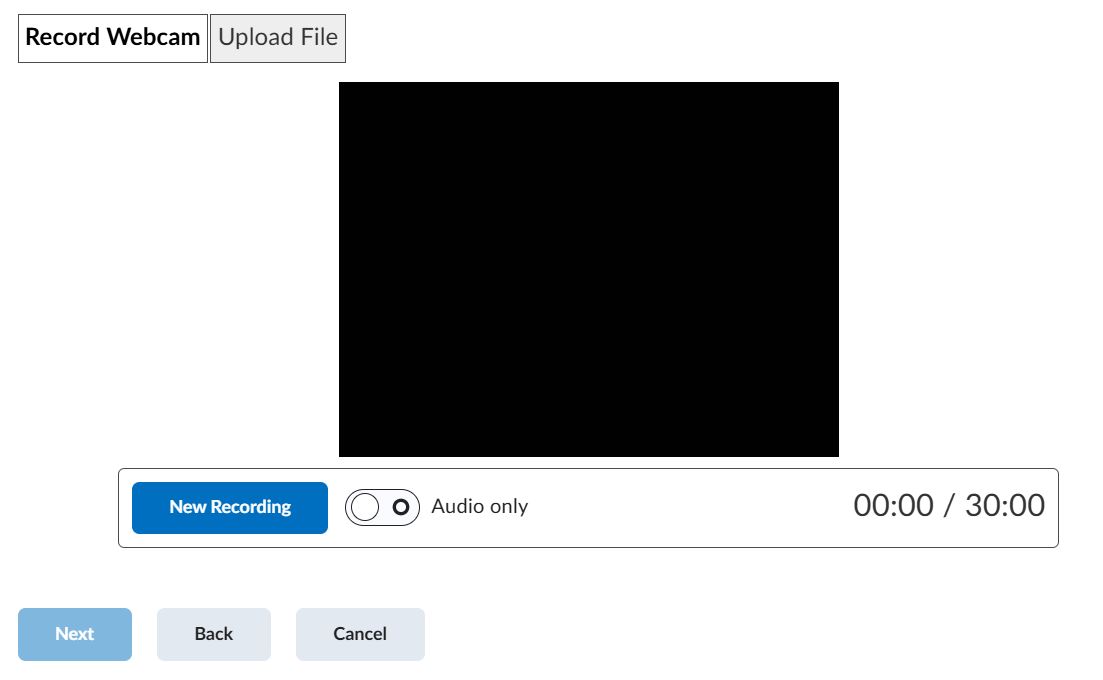
- Click the Record Webcam tab. You can choose whether or not to make your video note audio only using the toggle under the video preview.
- When you’re ready to start your video note, click New Recording.
- Once you have finished, click Stop Recording.
- Review your video note. If it looks good, click Next. Otherwise, you can click New Recording to try again.
- Enter a title and description for your video note. Select an audio language from the dropdown menu.
- If you want to generate captions automatically, check the box marked automatically generate captions from audio. Note that to generate captions, you must select an audio language.
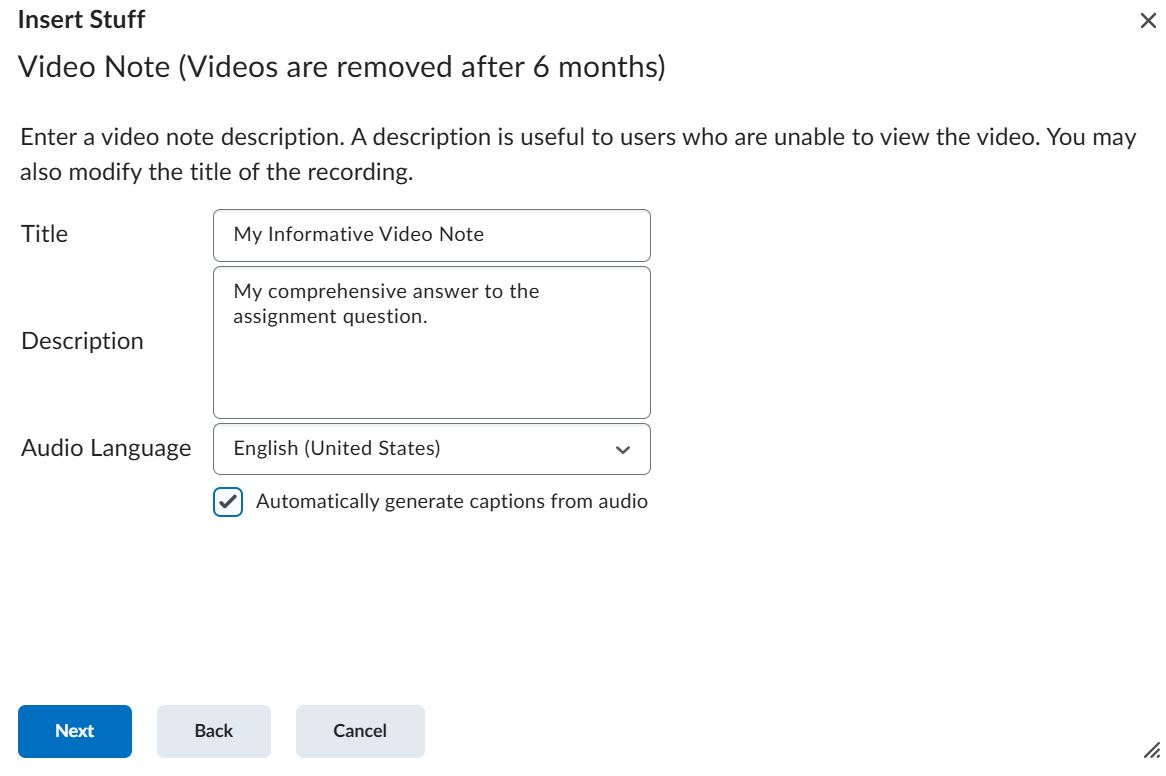
- Click Next.
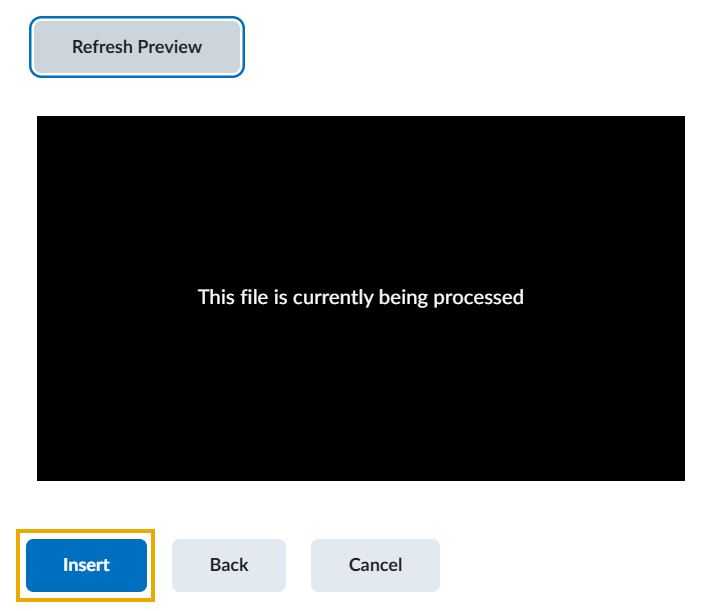
- Click Insert to add your video to the Brightspace editor. It will be included when you submit your post.
Uploading a file as a video note
- Navigate to the area in your course where you want to add your video note.
- Within the Brightspace Editor, click the Insert Stuff icon.
- In the Insert Stuff menu, click Video Note. If you get a popup asking to allow Brightspace permission to access your microphone or camera, be sure to select an option to allow access, otherwise the recording won’t work.
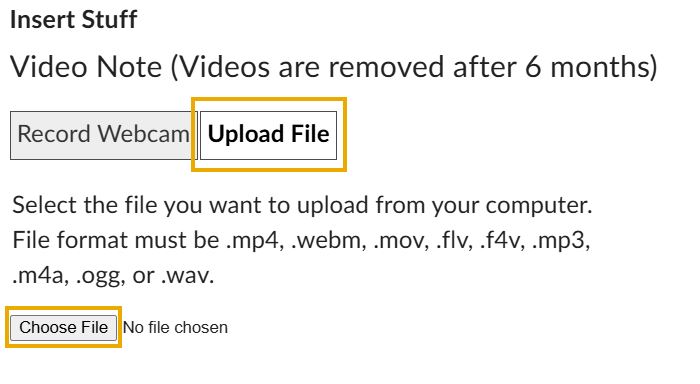
- Click the Upload File tab.
- Click Choose File and navigate to the file you want to upload.
- Enter a title and description for your video note. Select an audio language from the dropdown menu.
- If you want to generate captions automatically, check the box marked automatically generate captions from audio. Note that to generate captions, you must select an audio language.
- Click Next.
- Click Insert to add your video to the Brightspace editor. It will be included when you submit your post.
Viewing, editing, and downloading submitted video notes
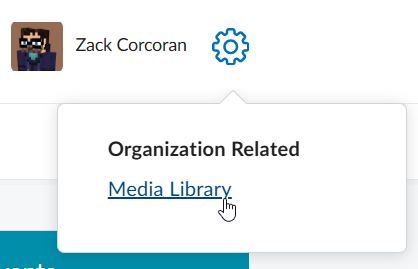
- Click the gear icon in the top right corner of the page, then clicking on the Media Library link.
- When you view your media library, you will see a list of all the media you have uploaded through D2L Brightspace, including video notes.

- Click the button with three dots next to an uploaded video note for a menu of options. You can preview, download, edit, rename, or delete video notes from this menu.

Please note that My Media does not contain files you have uploaded using Kaltura.