Using Manage Files
Manage Files is the area on D2L where all the files that you create and upload to course are stored. To access the Manage Files area:
- Click on Instructor Tools > Course Admin from the course navbar
- Click on Manage Files
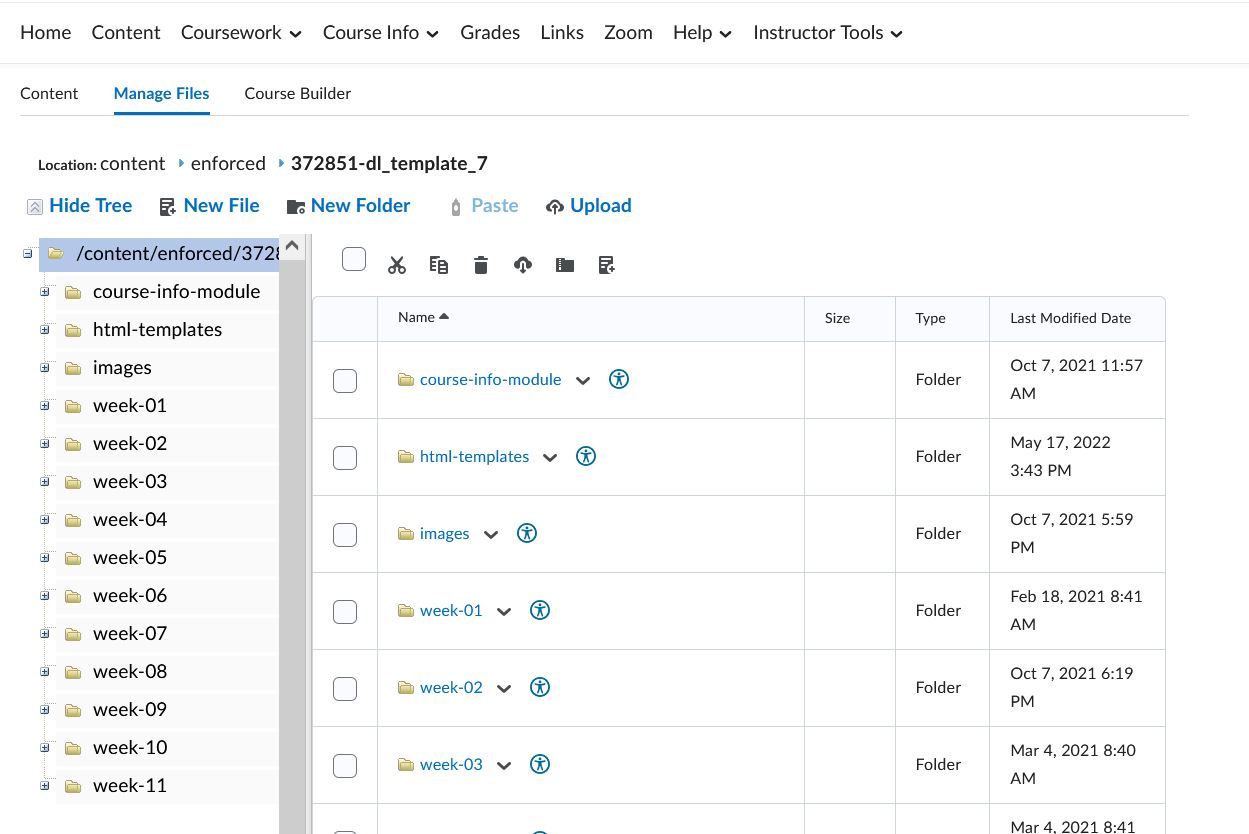
Manage Files Page in D2L
In Manage Files you can organize your content in a way the make sense to you. You can create folders and cut and paste files from one folder to another. Think of the folder that starts with /content/enforced/… as being the “My Documents” folder on your computer. You can see the folder “/content/enforced/…” in the folder tree on the left of the image below. It is the first folder and highlighted in blue.
Creating Folders
Perhaps you would like to organize your material based on your content modules (i.e. Module 1, Week 1, Unit 1, Chapter 1, etc). To begin creating folders:
- Click on New Folder (a folder will show up on top and will have a field for you to enter a name)
- Enter a name for the folder (i.e. Module 01)
- Click Save
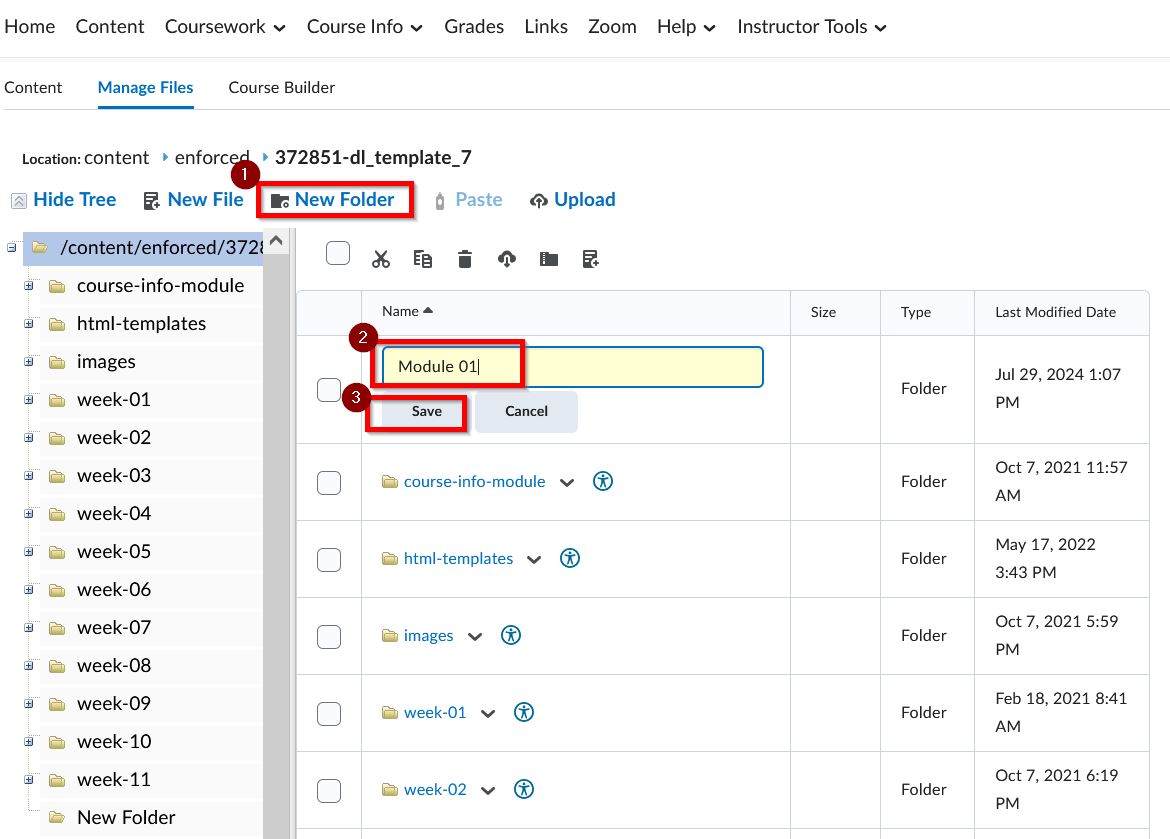
Once you click save, a new folder will show up at the top and you will that the “New Folder” on the tree to the left is now named Module 01. Note: The Module 01 folder will be alphabetized once the page has been reloaded.
You can continue creating folders so that your content stays organized.
Remember to click on the folder first before starting to upload your files into the folder.